The best way to use Windows on Qubes OS
Installing Windows on Qubes OS can be tricky due to its closed-source nature. Unlike Linux templates designed for Qubes OS, Windows requires the installation of Qubes Windows Tools to function correctly (network, audio, etc.). This guide uses the qvm-create-windows-qube tool, which is the recommended and most secure method.
Prerequisites
- A Qubes OS installation.
- Enough disk space for the Windows ISO and the Qube itself. 5-7 Gb (depends on the chosen .iso)
Download the Installation Script
Open this link, right-click, and select “Save Page As…” to download the install.sh script.
Copy the Script to Dom0
Since Qubes OS restricts clipboard access to Dom0 for security, manually type the following command in Dom0 to copy the script:
1
qvm-run -p --filter-escape-chars --no-color-output <name_of_qube_script_is_located_on> "cat '/home/user/Downloads/install.sh'" > install.sh
Warning: Copying files into Dom0 can compromise your system’s security. Verify the integrity and contents of the file before proceeding.
Run the Installation Script
In Dom0, execute the following commands:
1
chmod +x install.sh && ./install.sh
This will install necessary packages in the default TemplateVM and create
windows-mgmt, qube that we will need to create windows qubes
Download a Windows ISO
It’s crucial to download the Windows ISO from official Microsoft servers to avoid malware. You can use mido.sh (recommended by the qvm-create-windows-qube tool creator) or download directly from Microsoft.
Using
mido.sh:Move
mido.shto a Qube with network access and enough free space:1 2
cd /home/user/qvm-create-windows-qube/windows/isos qvm-move-to-vm <qube-with-network-name> mido.shIn the network-enabled Qube, run
mido.sh:1 2 3
cd /home/user/QubesIncoming/windows-mgmt/ chmod +x mido.sh ./mido.sh
Follow the on-screen instructions to download your desired Windows ISO. For example:
1
./mido.sh win10x64-enterprise-eval
Warning: Don’t use VPN or Tor when downloading ISOs from Microsoft servers, as they may be blocked.
Move the downloaded ISO back to the
windows-mgmtQube. In the same qube where you downloaded the ISO, run:1
qvm-move-to-vm windows-mgmt <windows-version-you-chose>.iso
Downloading Directly from Microsoft:
Alternatively, you can download ISOs from the Microsoft Evaluation Center or the Software Download page:
Then, move the ISO to the
windows-mgmtQube:1
qvm-move-to-vm windows-mgmt <windows-version-you-chose>.iso
Windows 10 is a good balance between modern features and resource usage, and it still receives security updates.
Place the ISO in the Correct Directory
For the script to recognize the ISO, move it to the /home/user/qvm-create-windows-qube/windows/isos directory within the windows-mgmt qube.

Fix Qubes Windows Tools Compatibility
If you try to create a windows qube using the current setup, you will get stuck at the [i] Installing Qubes Windows Tools... part and your windows qube will have no network, audio and clipboard. To fix this you need to replace default Qubes Windows Tools version with a compatible one
Download this release of Qubes Windows Tools.
Move the downloaded ISO to Dom0:
1
qvm-run --pass-io <name of the vm with the qwt tools> 'cat /home/user/Downloads/qubes-windows-tools.iso' > qubes-windows-tools.iso
Verify the integrity of the file before proceeding.
Put the existing Qubes Windows Tools ISO somewhere else:
1
sudo mv /usr/lib/qubes/qubes-windows-tools.iso /home/$USER/Documents
Replace the existing ISO with the downloaded version:
1
sudo mv /home/$USER/qubes-windows-tools.iso /usr/lib/qubes
Set execute permissions:
1
sudo chmod +x /usr/lib/qubes/qubes-windows-tools.iso
Create the Windows Qube
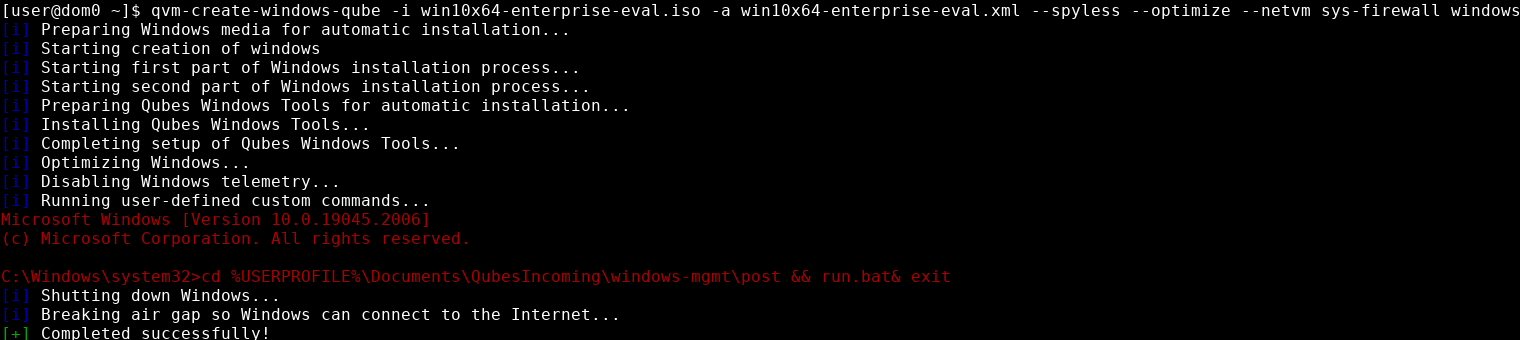
In Dom0, use the qvm-create-windows-qube command with appropriate parameters. Adjust the parameters to match your chosen ISO and configuration. Here is an example:
1
qvm-create-windows-qube -i win10x64-enterprise-eval.iso -a win10x64-enterprise-eval.xml --spyless --optimize --netvm sys-firewall windows